
VERTEXA FIELD NOTES / Installation
The VERTEXA advantage: a better start, a controlled drive, the right protection
Understand the head, point, shank and protection behind the VERTEXA advantage—and turn your product choice into a clear project takeoff.
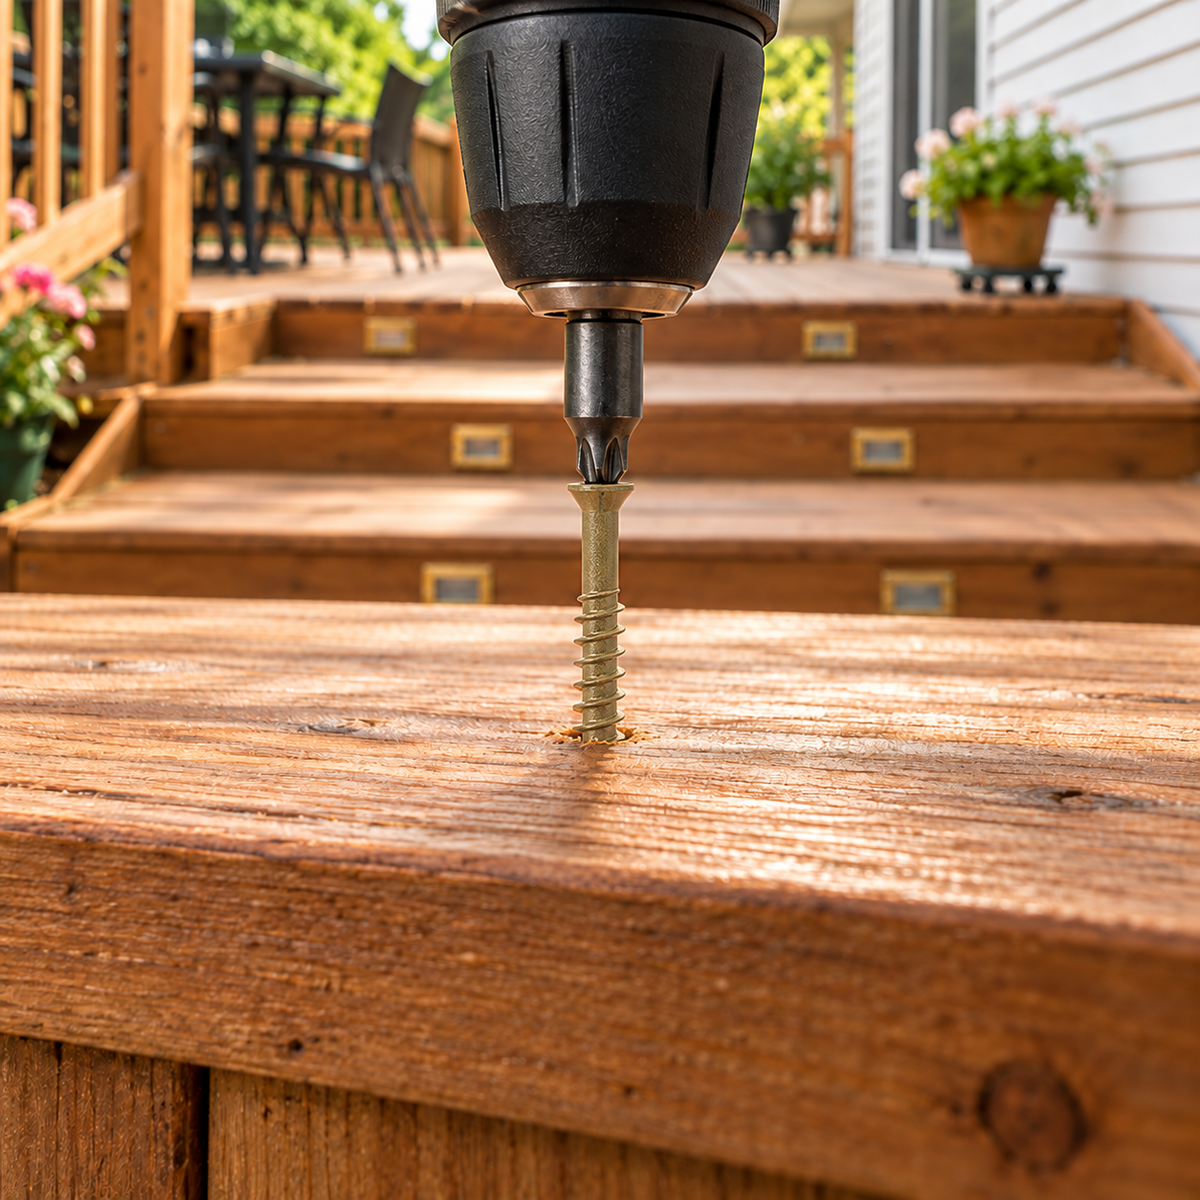
A good fastening experience begins before the screw reaches the wood. The driver must engage the head, the point must start where you intended, the shank must move through the first piece, and the finished connection must suit its environment. These details explain the VERTEXA advantage more usefully than a headline percentage on its own.
This guide follows that sequence: start, drive, seat and protect. It also shows how to turn the product choice into a clear purchase list.
1. Begin with a stable connection to the driver
A well-matched Torx bit sits fully inside its recess. That engagement helps you hold the screw on its intended axis as the point meets the work. A worn bit, the wrong drive size or a head filled with debris can spoil that start before the screw geometry has a chance to help.
Choose the bit from the selected product and size, rather than from the product family name alone. For example, stainless MultiGrip uses T20 for its #8 option and T25 for its #10 options. Stainless DeckPro uses T25 across its listed sizes. Other series have their own drive requirements.
On the job: inspect the recess, seat the correct bit completely, align the driver and practice on an offcut. Replace a damaged bit instead of compensating with more pressure.
Explore matched Torx driver bits or view stainless MultiGrip sizes.

2. Give the point a controlled start
A cutting point is intended to help the screw enter wood in a controlled way. On products equipped with a Type-17 point, the cutting geometry helps clear wood fibers as the point advances. It works as part of the complete fastener, together with the thread and the driving method.
That does not make every piece of wood identical. Dense timber, narrow trim, board ends and particular installation systems can still require pilot holes. Follow the selected product and board instructions. If a test piece splits, stop and correct the pilot, edge distance or product choice before repeating the operation on the finished surface.
On the job: clamp the first piece, use the specified pilot where needed and keep the point on your layout mark. A clean test drive is more useful than assuming that all wood can be driven without preparation.
Follow the decking installation guide for the sequence from frame checks to the final surface inspection.
3. Let the screw work through the assembly
The part being fastened and the material receiving the thread do different jobs. A smooth shank can pass through the first piece while the threaded portion engages the supporting wood. Where fitted, a spiral shank reamer helps create clearance around that smooth portion. The countersunk head then provides the intended seating profile at the surface.
The useful advantage is control of the whole drive: alignment, progression and seating. It still depends on choosing a length and thread arrangement suited to the actual layers. A long screw with the wrong head or thread placement is not automatically a better connection.
On the job: measure actual thickness, confirm receiving depth and check that the point has safe clearance. Set the driver clutch on scrap and stop at the required seating condition. Excessive torque can crush wood, strip a hole or damage the head.
See the stainless DeckPro detail photographs or plan an ordinary wood joint step by step.
4. Match the protection to the exposure
Corrosion protection is a material decision, not just a color choice. Coated carbon-steel screws and stainless-steel screws serve different specifications. Treated timber, persistent moisture, salt exposure and contact with other metals all affect the selection.
For coated products, keeping the protective layer intact during installation is part of good practice. Use a sound matching bit, avoid unnecessary driving cycles and follow any repair instructions. Stainless products still need the right material grade and installation detail for the exposure.
On the job: confirm the selected fastener and connector materials with the timber, board and project requirements. Stainless DeckPro is listed as 304 stainless steel; do not assume that every stainless series or every coastal location has the same material requirement.
Compare exterior fastening systems and retain the selected material specification with your project records.
How to read the comparison figures
The homepage displays four comparison figures: 27% for reduced wobble, 21% for a faster start, 25% for easier driving and 78% for less coating loss. Each refers to a different aspect of a comparison. None is a universal load rating, a service-life guarantee or a result that applies automatically to every VERTEXA series.
| Homepage measure | What to check before applying it |
|---|---|
| 27% — wobble | The tested head and bit combination, screw size, comparator and measurement method. |
| 21% — start | The timber, moisture, point design, tool settings and definition of the start measurement. |
| 25% — drive | The assembly, pilot condition, drive depth and the torque or effort actually measured. |
| 78% — coating loss | The coating, comparator, driver procedure and how coating loss was assessed. |
Ask VERTEXA for the applicable comparison information for the exact product you are considering. A percentage alone cannot establish equivalence for a structural connection or predict corrosion life in your site conditions.
Turn the product decision into the right quantity
Once the fastening pattern is established, count the actual positions and the required pieces at each position. Separate the takeoff by product, diameter, length and material. Surface boards, structural joints, perimeter clips and trim are different line items.
For a simple purchasing example, 18 board rows crossing 9 joists create 162 board-to-joist positions. If the approved face-fastening pattern calls for 2 screws at each position, the base count is 324. An illustrative 10% allowance brings the order requirement to 357 screws, rounded up. One 500-piece Homepak covers that example; borders, stairs and other connections remain additional.
For structural work, begin with the screw size and schedule from the approved design. A quantity calculator can count that schedule; it cannot determine the structure’s loads or approve a substitution.
Open the size and quantity calculator, or choose your project from our step-by-step project guides. If you are comparing a specific connection, send the assembly details to the VERTEXA team so the product discussion starts with the right information.
Keep exploring

Installation
Prepare the driver before repetitive fastening work
A simple preparation routine for matching bits, checking access and keeping installation information close to the work.
Read article
Planning
Build a fastener takeoff your crew can actually use
Turn a total screw count into a practical order: separate applications, show pack quantities and label each installation stage.
Read article
Cabinetry
Cabinetry and millwork: start with the connection
Cabinet installation, face-frame assembly and finish work are different tasks. Organize the details before choosing the screw.
Read article